A quality board can only perform as well as the preparation and installation around it. Pine skirtings need sensible storage, accurate cutting, secure fixing and a compatible coating system. Rushing any of these stages can leave visible joints, cracked filler or exposed timber where cleaning moisture can enter. 🛠️🎨
The following process explains the decisions that produce a clean result. Site conditions and coating products differ, so the installer should still follow the product manufacturer's instructions and assess the building before work begins. 📋🏠
📦 Store the boards in a suitable environment
Keep pine skirtings flat, supported and protected from rain, wet floors and direct heat. Do not leave long boards leaning against a wall for extended periods because they can take a set. Packaging should not trap condensation around the timber. 💧🌲
Where practical, allow the boards to adjust to the indoor environment before installation. The building should be sufficiently dry, especially after plastering or screeding. Installing dry timber into a wet building creates avoidable movement and finishing problems. 🏠💨
🔍 Inspect and allocate every length
Before cutting, check each board for grain, minor bow, knots and the best visible face. Allocate the straightest and longest pieces to the most prominent uninterrupted walls. Short pieces can be planned around doors or inside cupboards. 📏🪵
This simple layout stage reduces unnecessary joins and waste. It also prevents an installer from reaching the final wall and discovering that the remaining pieces are unsuitable for a highly visible position. ♻️👀
🪵 Prepare the profile without losing its detail
Factory-machined pine skirtings may still need a final light preparation depending on the supplied finish. Sand in the direction of the grain and avoid flattening small beads or rounding crisp shoulders. Remove dust before applying primer. 🪚✨
If boards are supplied raw, prime the faces and pay attention to cut ends and other exposed areas. The exact sequence depends on the paint system and whether joints will be filled after installation. 🎨🖌️
📐 Plan corners joins and transitions
Walls are not always perfectly square. Test mitres before final fixing and adjust them to the actual corner rather than assuming every corner is exactly 90 degrees. On long walls, place joins where they are least noticeable and use an appropriate joint rather than two unsupported square ends. 📏🔨
Check the meeting point between pine skirtings and pine architraves before cutting. A difference in thickness should be resolved deliberately with the correct profile detail or return, not disguised with excessive filler. 🪵🛠️
🔨 Fix according to the wall construction
The fixing method must suit the substrate. Pipes and electrical services must be considered before drilling or nailing. ⚡🚰
Do not force a rigid board into severe wall hollows. Minor gaps can be finished appropriately, but major unevenness should be corrected or planned around. Excessive pressure can introduce stress and open other joints later. 🧱🔧
🎨 Complete the paint system carefully
After installation, routine care is simple: wipe with a damp rather than saturated cloth, attend to leaks quickly and repair chips before exposed timber absorbs dirt or moisture. Painted pine can be refreshed without removing the whole pine skirtings, which is one of its long-term advantages. 🧼💧🛠️
· Use filler and sealant products intended for their specific joint or surface. 🧴
· Allow primers and fillers to dry fully before sanding or recoating. ⏳🎨
· Apply thin controlled coats so profile detail remains crisp. 🖌️✨
· Seal vulnerable cut edges and clean paint lines where pine skirtings meets the floor. 🛡️📏
🏭 Start with correctly manufactured boards
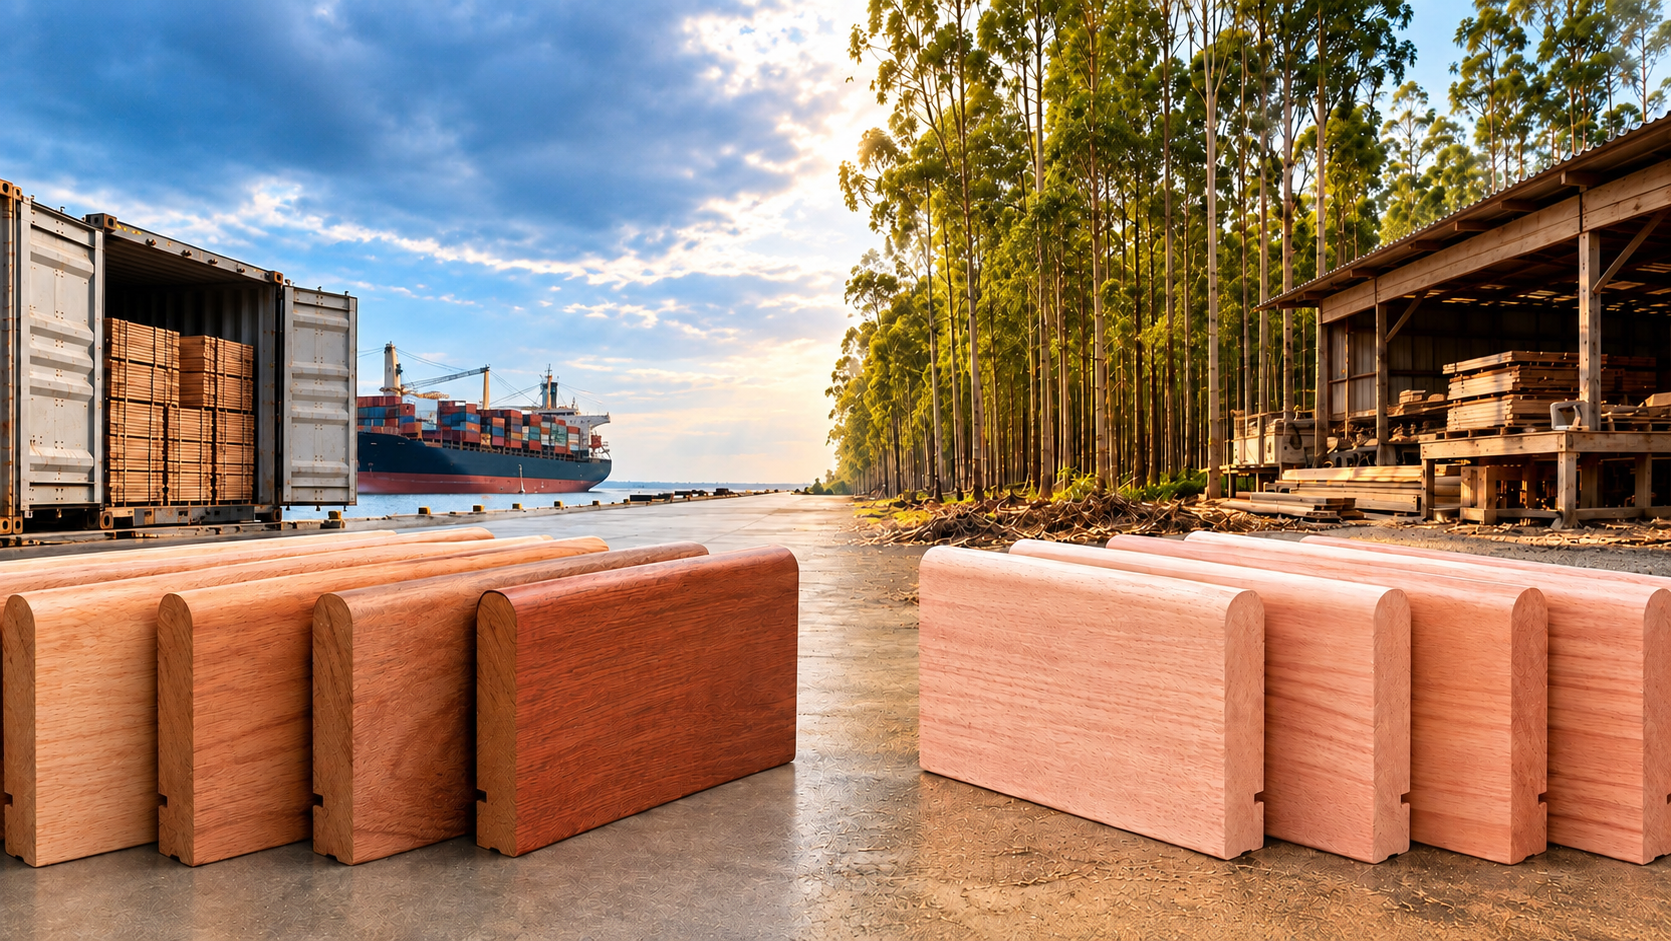
Installation cannot correct inconsistent thickness or poor machining. Visto Mouldings produces pine profiles in-house and can coordinate pine skirtings with related mouldings. Confirm the profile, finished dimensions, quantities and coating requirements before production so the installer receives a product suited to the intended result. 🌲🏭📋